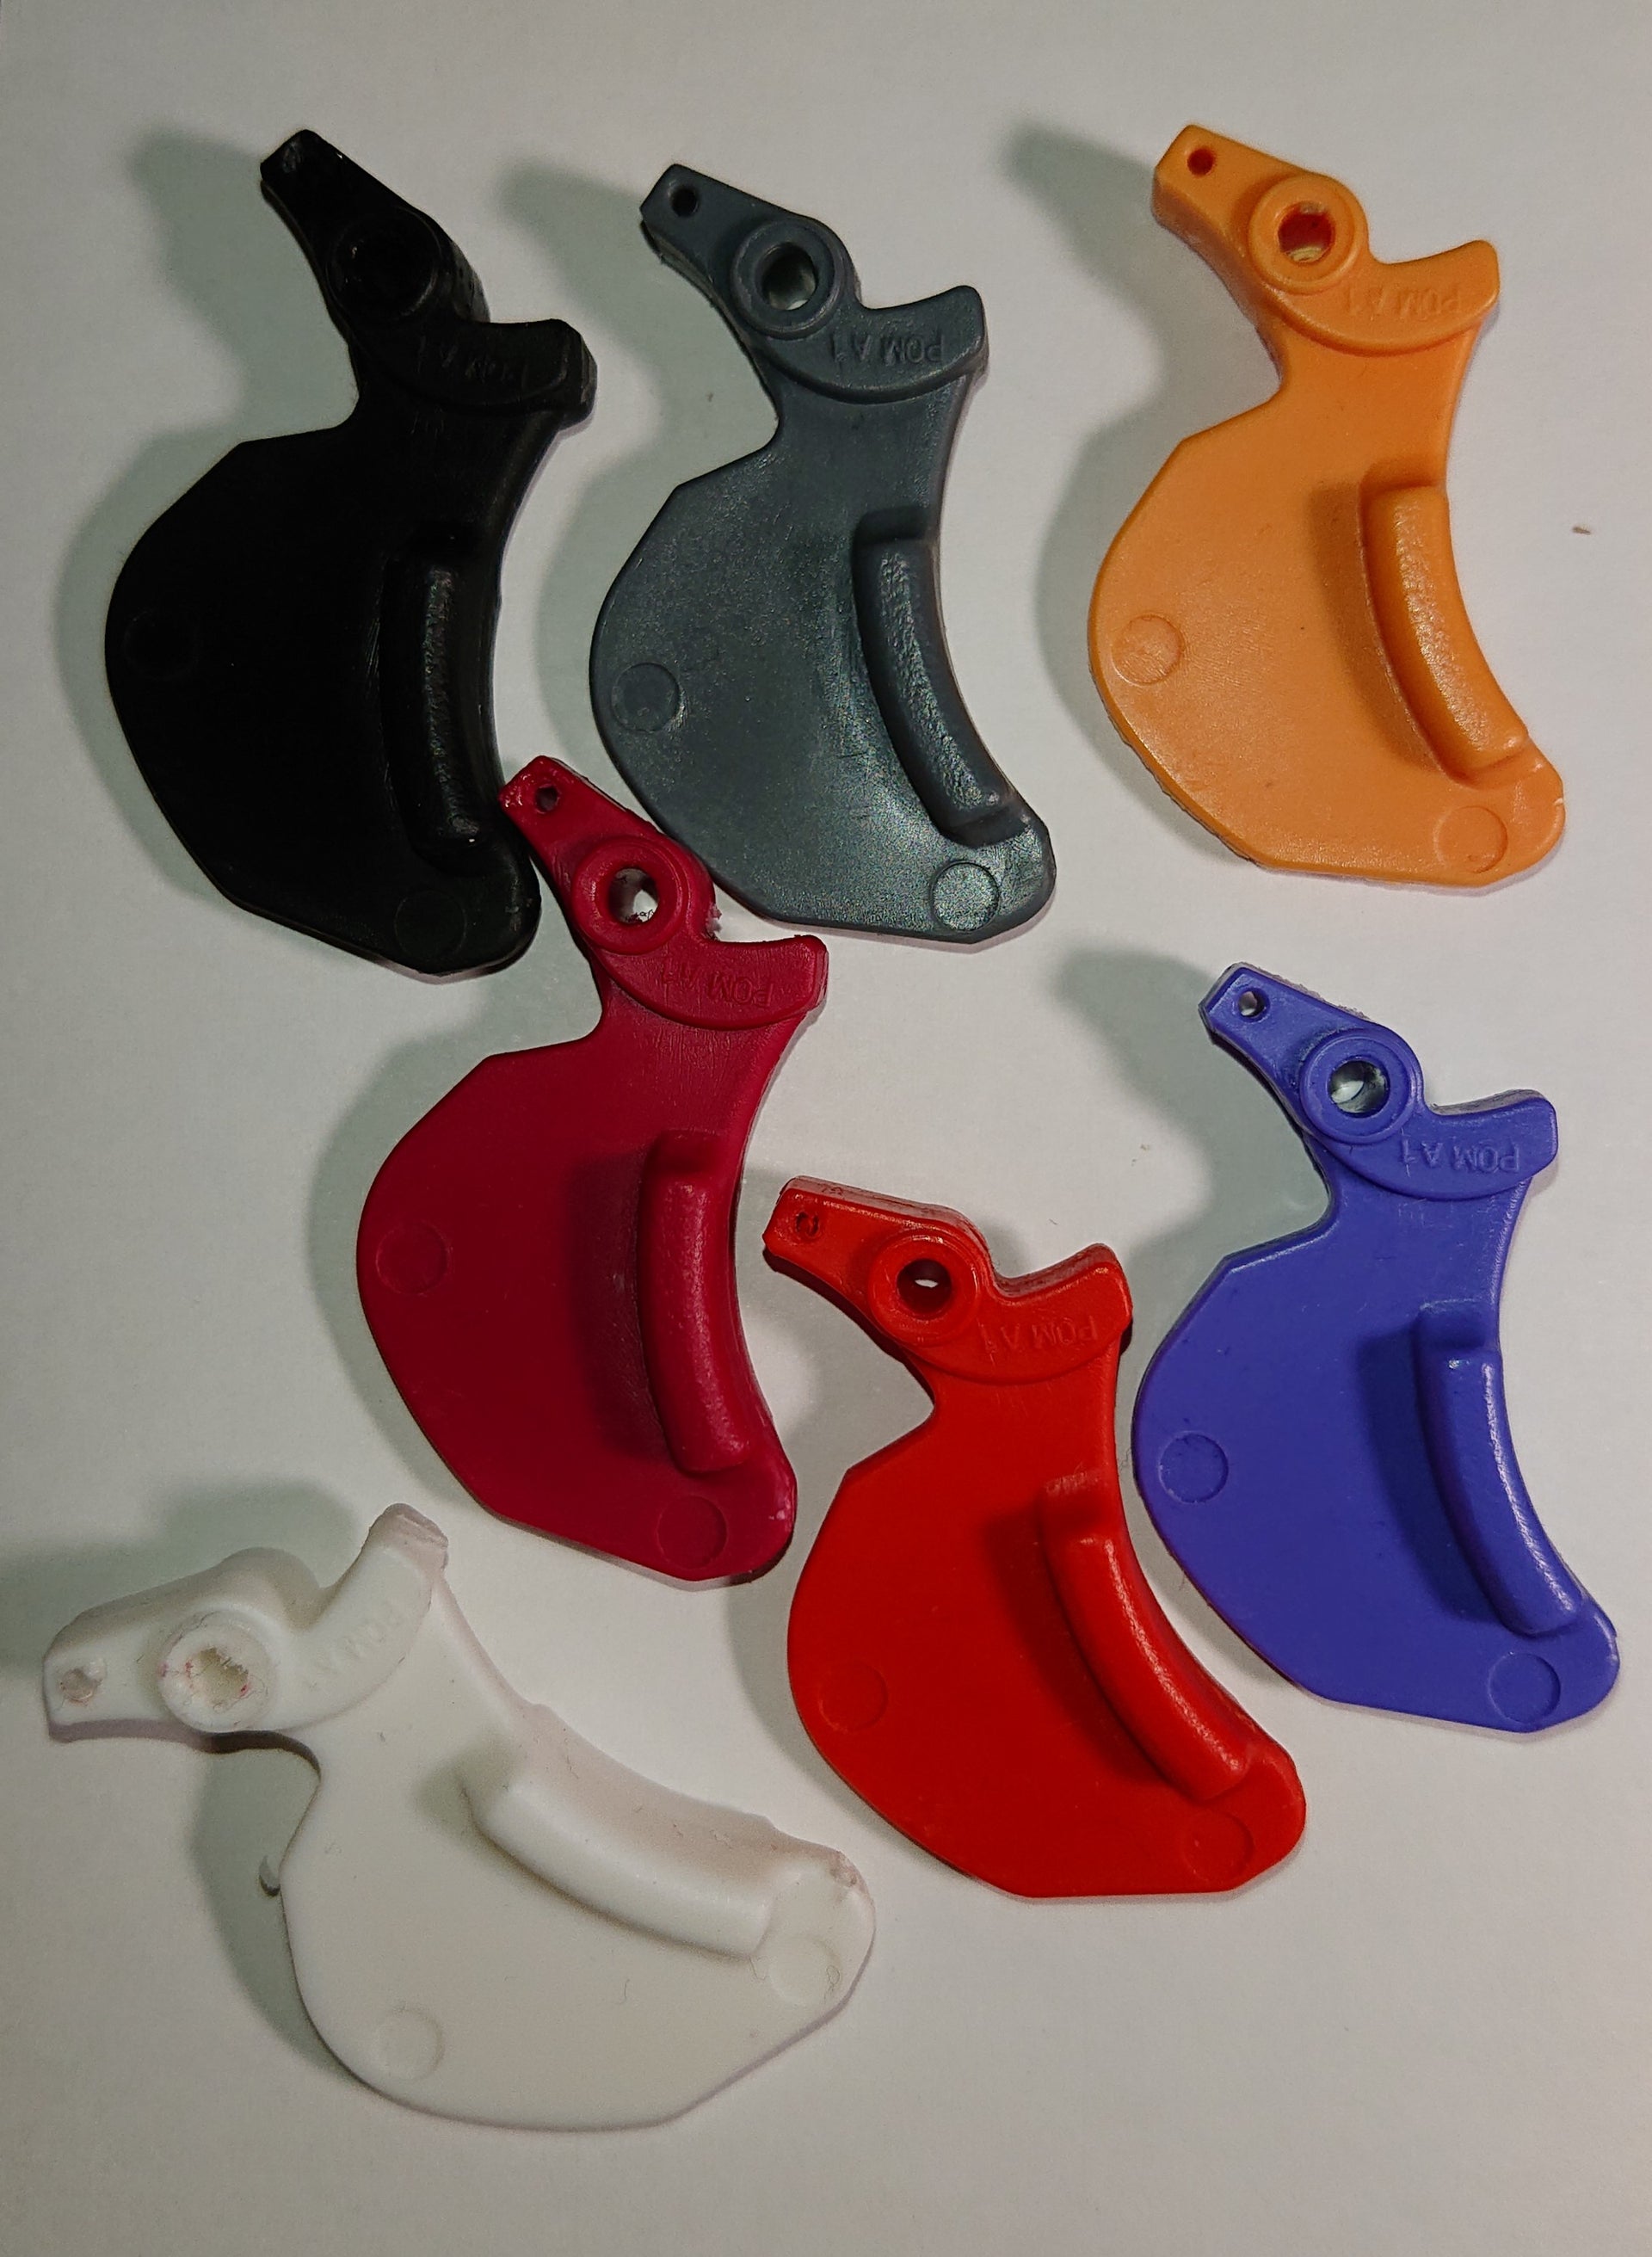
Trigger Upgrade for Nerf Sweet Revenge
Description
Each part will have basic clean up performed by trimming excess resin and seam lines. These parts are able to be sanded by you with a fine grit sandpaper if desired. I have found that wet sanding with 400 grit for finer clean up, then wet sanding with 1000 grit to finish works beautifully.
For installation, you will need to remove the existing hammer piece from your Sweet Revenge. Some of the pins may be solvent welded to one portion of the other connecting pieces. I used a spare pin from another blaster and a small hammer to carefully push the pins out. This will require a little bit of force, so just be careful. After the pins have been removed, the hammer piece can be replaced with the new one. Just remember where each pin came from and they should all fit back together. The smaller pins have some knurling on one side that helps keep them in place on the connecting pieces.
*Use of a spring stronger than 8kg with this part is not recommended. Removing air restricter is not recommended and has a high probability of breaking the hammer.
*I will not be held responsible for any damage sustained to your blaster or the part if you break it while attempting to modify it. So please, proceed with caution.
*Blaster is not included.

